Your DIY Video Toolkit
When it comes to video, my first recommendation is to hire a pro who can translate the concepts in your head to look great on screen. But, sometimes you just don’t have the budget. We’ve all been there!
There are four main areas on the technical side of your DIY videos: camera, stabilization, lighting, and sound. Here are the tools you’ll need to level up:
Camera
If you have a newer mobile phone, you already have a very good camera in your pocket. There are lots of apps you can use to boost the quality of your too.
The iPhone’s built in Continuity Cam (on iOS 16+) or an app like Epoc Cam lets you use your iPhone’s camera as a webcam, allowing you to Zoom and record calls in HD. For Android users, apps like DroidCam or Iriun (depending on your computer’s OS) allow for similar use.
While you can get good video from your basic camera app, if you want more control, FiLMiC Pro allows you to really dial in the details.
Pro tip: recording with the back facing camera on your phone (instead of the front facing “selfie cam”) will give you the highest resolution video. However, this can be tough if you’re going solo. So, pick your battles. Some content is usually better than no content!
A mirrorless DSLR camera is the next step up if you’re serious about upping your video game. I’d recommend doing some research to decide what size and specs best suit your needs.
Stabilization
One of the most important things about leveling up your video is framing and steadiness. You can learn more about basic framing in this video from Vimeo Video School.
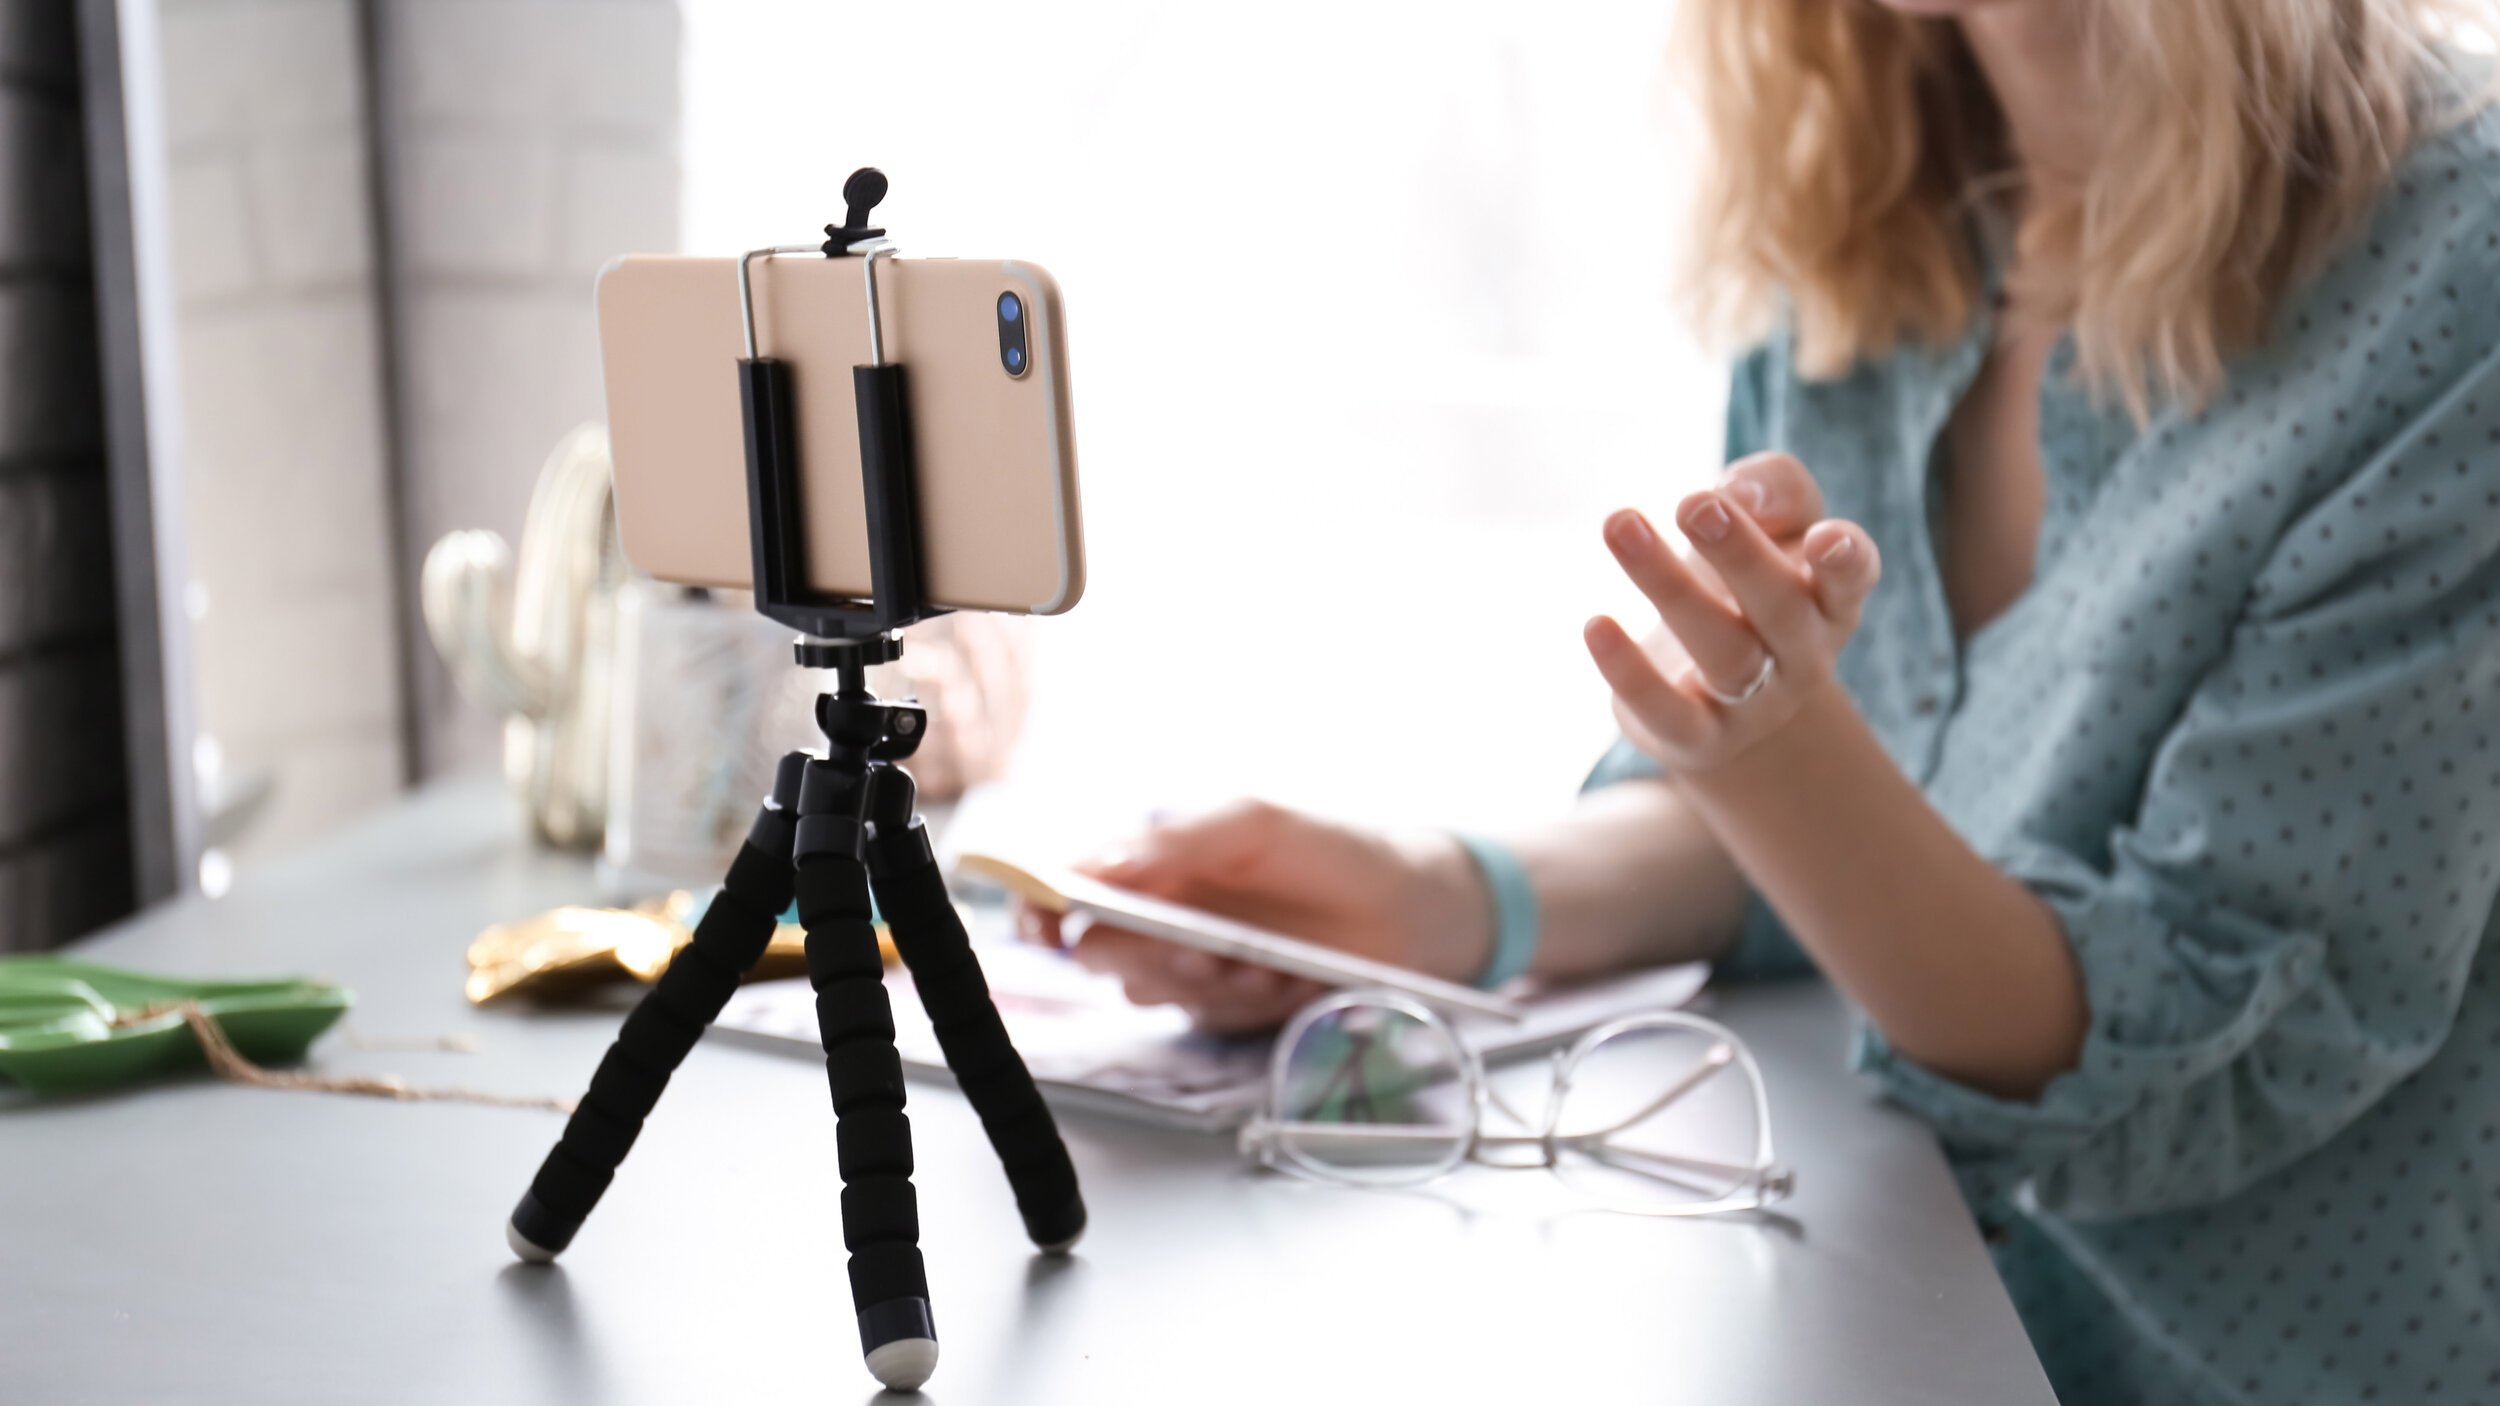
For steadiness, you’ll need something to hold your camera. When I’m filming with my iPhone, I use this holder from Amazon with this light stand from B&H Photo and Video. There are tons of options for both, but I chose the holder because its aluminum construction means it should hold up better to use and travel than some of its plastic competitors. And the Manfrotto light stand is my favorite because it folds up small enough to fit in a backpack and is super lightweight.
If you’re filming with a heavier camera and lens combo (like a mirrorless DSLR), you’ll want to invest in a more substantial tripod. The one I have is no longer available, but here’s a similar one.
Lighting
Here’s my desk with the window shade drawn and sheer curtains pulled back. You can also see my lamp, mic, and the top of the cellphone holder mounted on the light stand.
For good basic lighting, you want something that looks natural and gives a soft, even light.
When you want to look natural, sometimes it’s best to simply go natural with the most natural light source we have — the sun! I use the sun for most of my webcam filming. I have these shades from The Home Depot to help soften (or diffuse) the sun and sheer curtains like these to use as a lighter or additional layer, depending on the time of day. I add a daylight balanced lamp on one side to help my teal walls not look too dark.
At night, I use a dimmable LED light and point it towards the window shade. The reflected light is nice and even without being too bright. I use one of my production lights for this, but you can also use a less expensive option. The key is to make sure it’s not glaring on your face. So, you look like you’re glowing or there are too-bright spots on your face, turn it towards the shade and let the reflected light do the work.
You can also use a regular lamp. Two lamps (with shades) placed on either side of you (or whatever you’re filming) should give you a good, even light. Note: if you’re using lamps with either the sun or a daylight LED, you’ll want to make sure the lamps have daylight balanced bulbs too. Otherwise, they’ll give off a very yellow light. I use these bulbs from Target.
For more on lighting (including the two lamps method) watch this video from Vimeo Video School:
Sound
The biggest thing about audio is to make sure it has a clean sound and good volume. So, don’t record in a noisy environment (think coffee shop, or near a fountain, or next to an air conditioner) unless it adds to your video. You can also use an external microphone to help improve the quality of your audio.
Here is what my voice sounds like using my iPhone’s built in mic.
Here’s what it sounds like using my AirPod Pros:
Here’s what it sounds like with a wireless lavalier mic. This is what I have for pro video production, but you can use something less expensive, like this. Wired lavs are also an option, just make sure your cord is long enough!
If you’re recording from your desk, you might want a studio quality microphone like this one. Here’s what that sounds like:
And there you have it! Four ways to level up the tech for your DYI videos.
If you have a video project where you’d like to book a pro, or if you’d like a coaching session for more tips and strategies for your videos, you can schedule a FREE 20-minute discovery call with me and we’ll work out the details.


